Many organizations move collaboration and data storage into Microsoft’s cloud. With that step comes the challenge of controlling who can see and edit specific resources. SharePoint permission groups are the foundation for this control. They define what different people can do inside a site or library.
In practice, managing rights is never as simple as giving everyone read or write access. Teams evolve, projects overlap, and sensitive content requires extra protection. That’s why the topic of groups, levels, and rules needs clear guidance. When someone understands how the structure works, it becomes easier to balance security with productivity.
Throughout this article, different types of groups, role creation, and troubleshooting strategies will be explained. It will also cover how SharePoint security groups, custom permissions, and careful access management create flexible yet reliable systems. Additionally, understanding SharePoint permission groups allows managers to assign responsibilities accurately and avoid workflow confusion.
At the end of this article, we’ve included a helpful checklist for monitoring groups, setting permissions, and optimizing processes. It will help you ensure all users have the necessary permissions and that new rules are being implemented successfully.

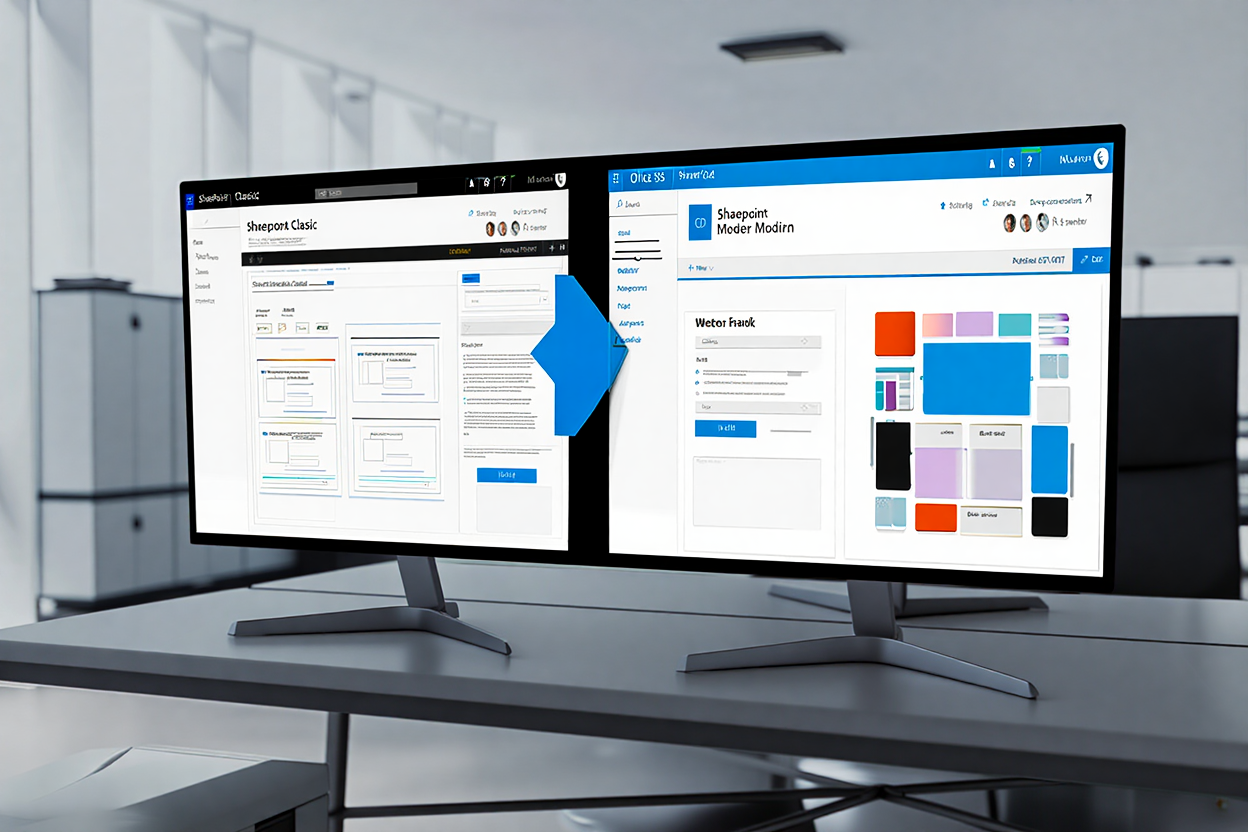
Understanding Default SharePoint Groups vs Custom Groups
Default groups provide the baseline. Every site comes with Owners, Members, and Visitors. Owners can change settings and manage content; for complex environments, this often involves establishing a clear information architecture through custom columns and types. Members add and edit items. Visitors usually read information without making changes. This setup is quick but often too generic for growing teams.
Organizations that need refined control usually turn to tailored structures. Security standards advocate role-based, least-privilege permissions to promote accountability and reduce risk; for example, NIST SP 800-53 (AC-6) mandates least privilege. Research on information-security culture at the University of Johannesburg further emphasizes that clearly assigned responsibilities and user behavior are pivotal to stronger security outcomes (https://nvlpubs.nist.gov/nistpubs/SpecialPublications/NIST.SP.800-53r5.pdf; https://csf.tools/reference/nist-sp-800-53/r5/ac/ac-6/). Creating additional roles ensures people only get the rights they actually require. A finance team can have one set of rights, while external vendors might receive something very different. That balance reduces mistakes and avoids unnecessary exposure.
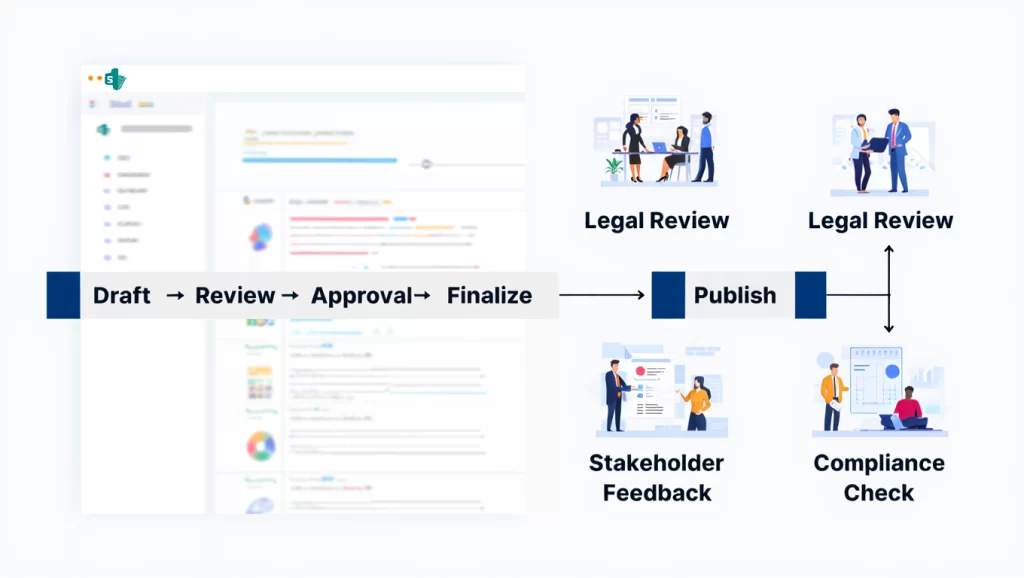
Setting Up Parallel vs Sequential Approvals
One question many administrators ask is how workflows align with group design. Sometimes tasks move through multiple reviewers. At other times, decisions need to happen simultaneously. By defining whether the review order is parallel or sequential, permissions align more naturally with business needs. For instance, sequential reviews fit legal or compliance scenarios. Parallel flows speed up less sensitive operations. Using SharePoint permission groups in both setups ensures consistent access control across stages.
Configuring Approval Timeout Actions
Delays happen when people forget to respond. Configuring a timeout action keeps the process moving. Instead of blocking everyone else, the system can escalate to a manager or mark the task as overdue. Linking this to the right group prevents bottlenecks. A clear timeout rule reduces frustration and keeps projects on schedule. SharePoint permission groups help maintain consistent fallback procedures in such cases.
Customizing Approval Email Templates
Standard notifications often lack clarity. Customizing email alerts ensures reviewers understand what they are supposed to do. The subject line can include the document name. The body can highlight urgency. When tied to the right group, these messages land only with those who must take action. That reduces noise and keeps communication efficient. Using SharePoint permission groups also ensures that emails reach the correct audience without extra manual effort.
Always utilize the three standard security groups for communication sites to keep things straightforward.
Default groups are a good start but rarely enough. Custom structures let administrators adapt security to real-world demands without overcomplicating daily work. Proper use of SharePoint permission groups strengthens overall control.
Step-by-Step Guide to Creating Custom Permission Levels
The need for custom permissions arises when the built-in levels don’t fit business rules. For example, someone might need the ability to upload files but not delete them. Creating a new role solves that issue without granting excessive authority.
Detailed Walkthrough for Building New Levels
Follow these steps carefully to ensure new permission levels match business requirements. Each step allows you to define access clearly and consistently.
1. Open Site Settings
Navigate to your SharePoint site. Click the gear icon in the upper-right corner. Choose Site settings from the dropdown menu. Under the Users and Permissions section, click Site permissions.
2. Locate Advanced Permission Settings
In the Permissions tab, click Advanced permissions settings. This opens the full list of groups and permission levels for the site. You can view existing levels like Read, Contribute, and Full Control.
3. Access Permission Levels
At the top of the page, click Permission Levels. This page lists all available permission levels and allows you to create new ones or modify existing ones.
4. Add a New Permission Level
Click Add a Permission Level. Enter a clear Name for the new level, for example, “Finance_UploadOnly.” In the Description field, explain its purpose, such as “Allows uploading files but prevents deletion or editing.”
5. Select Specific Actions
Scroll through the list of permissions and check the actions that the group should be able to perform. Be precise to avoid security risks. Only select actions that are necessary for the role, like adding items, viewing versions, or editing items if needed.
6. Save the Permission Level
Once you’ve selected the appropriate actions, click Create at the bottom of the page. The new permission level now appears in the list and is ready to assign to groups.
7. Apply the Permission Level to a Group
Go back to Site Permissions, select an existing group or create a new group for the intended users, and click Edit User Permissions. Assign the newly created permission level and save changes.
8. Test the New Permission Level
Use a test account in the group to verify the permissions. Ensure users can perform only the intended actions. Adjust permissions if necessary before applying it broadly.
This process ensures clear boundaries. Each role becomes a reflection of actual job duties. By connecting these levels to groups, administrators build layered structures that scale with growth.
Using Access Management Wisely
Good access management is about clarity. Before granting rights, map out what tasks different roles must complete. Avoid mixing unrelated duties into a single level. Over time, this practice makes audits easier. It also reduces the risk of accidental data exposure. Using SharePoint permission groups in coordination with access management ensures every user has proper oversight.
Comparing Default and Custom Levels
Before reviewing the table, it’s helpful to understand why default levels may not meet all organizational needs. This context clarifies the advantages of custom roles.
| Feature | Default Levels | Custom Levels |
|---|---|---|
| Setup time | Instant | Requires configuration |
| Flexibility | Limited | Highly adjustable |
| Common use cases | Small teams | Complex organizations |
| Risk of overexposure | Higher | Lower when designed carefully |
| Maintenance | Minimal | Needs review as policies change |
Building new permission levels may take a little extra effort, but it prevents broader security problems later. It also makes the concept of SharePoint permission groups more powerful in practice.
Best Practices for Managing Group-Based Security
Every system needs rules to stay organized. Without guidelines, groups grow messy, overlap too much, and confuse both users and admins. By following best practices, companies keep their systems secure while also staying user-friendly.
Group Naming and Clarity
Proper naming makes it easy to identify the purpose of each group at a glance. Clear labels prevent confusion during audits and routine management.
Naming conventions matter. Instead of calling something “Team1,” a more descriptive title like “Finance_ReadOnly” immediately shows purpose. Clear labels reduce confusion and simplify troubleshooting later.
Regular Reviews and Adjustments
Teams evolve, so regular reviews are essential. They help identify obsolete groups and prevent unnecessary access.
Business needs shift constantly. Quarterly reviews of rights help catch outdated roles. For example, if a project ended months ago, there’s no reason for external vendors to still hold access. Cleaning up unused groups reduces clutter and strengthens security.
Documenting Rules
Documenting group rules makes transitions smoother and reduces errors. Administrators gain a reference that helps enforce consistency.
Writing down how groups are structured is often overlooked. A simple document listing each group, its purpose, and its assigned level is valuable. It helps new administrators understand the system quickly. It also reduces mistakes when changes are required.
Checklist for Ongoing Management
Before applying ongoing checks, it’s important to understand why each step matters. These actions keep groups tidy and ensure security standards are met. Implementing a simple routine reduces mistakes and improves efficiency.
- Audit groups every three months.
- Remove inactive accounts quickly.
- Confirm that sensitive data stays limited.
- Use descriptive naming conventions.
- Document updates in a central place.
Why SharePoint Security Groups Still Matter
Even with custom permissions, wider organizational safeguards are needed. SharePoint security groups provide that framework across multiple sites and services. They enable easier integration and overall governance.
Give users the least permissions necessary to complete their tasks to minimize risks.
Discipline in group design leads to fewer mistakes, smoother collaboration, and a safer environment overall.
Troubleshooting Common Permission Conflicts
Even well-structured systems sometimes encounter problems. Conflicts often arise when people belong to multiple groups with different rights. The system must decide which rule to follow, and results may surprise both users and admins.
Spotting Conflicts Quickly
Understanding where to look before troubleshooting saves time. Quick identification reduces downtime and keeps operations smooth.
The first step in solving permission issues is knowing where to look. If a user reports unusual access, check all groups linked to that account. Sometimes a higher-level right overrides a restriction. Tools inside the settings menu show effective permissions. This makes it easier to identify inconsistencies.
Resolving Layered Permissions
Cleaning up overlapping roles is key. Simplifying assignments prevents unexpected behaviors.
Overlaps can create confusion in layered setups. To fix them, follow a structured approach that clarifies assignments.
- Review the user’s memberships across all relevant groups.
- Identify any contradicting rights between them.
- Prioritize the most restrictive access needed for the role.
- Adjust by removing extra memberships that cause issues.
- Test the changes to confirm the desired outcome.
This method streamlines resolutions.
Handling Access Management Errors
Before making changes, confirm why the access seems wrong. Understanding context prevents repeated mistakes.
Misconfigurations in access management often come from rushing. Always double-check before assigning new rights. Using test accounts helps confirm that permissions behave as expected. A structured testing routine prevents headaches later.
Maintaining Balance with SharePoint Permission Groups
Proper layering and documentation minimize errors. It keeps systems predictable and consistent.
It is tempting to keep stacking groups, but balance is crucial. Overlapping roles make troubleshooting harder. By keeping SharePoint permission groups straightforward and well documented, errors are minimized. They also reinforce proper access management while preventing conflicts.
List of Common Fixes
When conflicts arise, having a clear method helps resolve them faster. Following these steps ensures nothing is overlooked and permissions remain consistent.
- Check effective permissions for the user.
- Verify group memberships in detail.
- Test access with a sample account.
- Remove conflicting memberships.
- Reapply the intended permission level.
Simplify group assignments to avoid overlaps and maintain predictability.
Troubleshooting works best with a clear structure and documented rules. The simpler the design, the easier it is to resolve problems.
FAQ
How can someone decide between default and custom groups?
Default groups work for small, simple sites. When business roles become more specific, custom permissions allow tighter control without giving away too much access.
Why do SharePoint permission groups matter so much?
They provide the foundation for who can read, edit, or manage content. Without them, access management becomes inconsistent and risky.
What is the best way to organize SharePoint security groups?
Using descriptive names, cleaning them regularly, and connecting them with wider Microsoft 365 tools keeps everything consistent.
How do conflicts between multiple groups usually get solved?
By checking effective permissions, testing accounts, and removing overlapping memberships. The cleanest setup always works best.
If this topic resonates with you, you might be interested in this short video. It covers topics such as site-level security, using built-in SharePoint security groups, and configuring external sharing settings. It complements this article and provides practical information to help you better understand SharePoint permission management.
Managing access in SharePoint Online requires more than default settings. SharePoint permission groups define the baseline, but tailoring them through custom permissions and thoughtful access management ensures better control. Balancing security with usability means reviewing groups regularly, keeping names clear, and troubleshooting quickly when problems arise.
When organizations follow these steps, teams spend less time dealing with errors and more time collaborating. Administrators gain peace of mind knowing that sensitive information is protected without slowing down productivity. The system becomes not just secure but also efficient for everyone involved. SharePoint permission groups ensure proper oversight across all teams.
To make it easier to implement all the recommendations, we’ve prepared a detailed checklist. It’s structured by stages: planning, creating groups, setting up workflows, security, and support. It makes it easy to step-by-step verify settings, prevent errors, manage access rights, and optimize teamwork. The checklist serves as a practical tool for solidifying the knowledge in this article and quickly implementing best practices in your organization. If you find the material useful, you can save the file for yourself.